Setup Guide
5 steps to a live blog.
Create your account, run one prompt, submit to Google, and start publishing. Most people are done in under 10 minutes.
What you'll set up
Step 1
Account & brand
3 min
Step 2
Blog & SEO setup
2 min
Step 3
Google indexing
5 min
Step 4
Content strategy
5 min
Step 5
Agents
1 min
Create your account & set your brand voice
3 minutes
- a.
Go to vibeblogger.io/start and sign up. You'll get 100 free credits.
- b.
Go to the Brand tab and fill in your brand details. This is how the AI learns to write like you:
Blog/Brand Name — e.g., "The SaaS Playbook"Blog Description — What your blog is about in 1-2 sentencesIndustry/Niche — e.g., "B2B SaaS", "Fitness tech"Target Audience — Who you're writing for — be specificTone — Professional, casual, technical, etc.Topics We Cover — Your main content themesThings to Avoid — Competitors, topics, or phrases to skip - c.
Go to API Keys in the nav, click "Generate Key", and copy it. Add it to your project's
.env.local:VIBEBLOGGER_API_KEY=vb_live_your_key_here
Tip: The more detail you give in brand voice, the better your content will be. Paste 2-3 paragraphs of your best writing into the "Example Content" field so the AI can match your style.
Run the setup prompt
2 minutes
One prompt does everything. Go to the /start page and click "Copy setup prompt" in Step 3. Paste it into your coding agent (Cursor, Claude Code, etc.).
The prompt will:
Audit & fix your existing SEO
- Add proper meta titles, descriptions, and Open Graph tags to every existing page
- Fix heading hierarchy, add alt text to images, use semantic HTML
- Create or update your sitemap and robots.txt
- Add JSON-LD structured data to your homepage
- Add canonical URLs to prevent duplicate content
Create your blog
- Blog listing page and individual post pages
- Renderers for all 16 content component types
- SEO metadata, JSON-LD structured data, and breadcrumbs on every page
- Dynamic sitemap and RSS feed
Don't want to do this yourself? Book a free setup call and we'll screenshare and do it with you.
Submit to Google Search Console
5 minutes — don't skip this
Why this matters: Without Search Console, Google may take weeks to discover your blog. With it, pages can be indexed in 2-7 days.
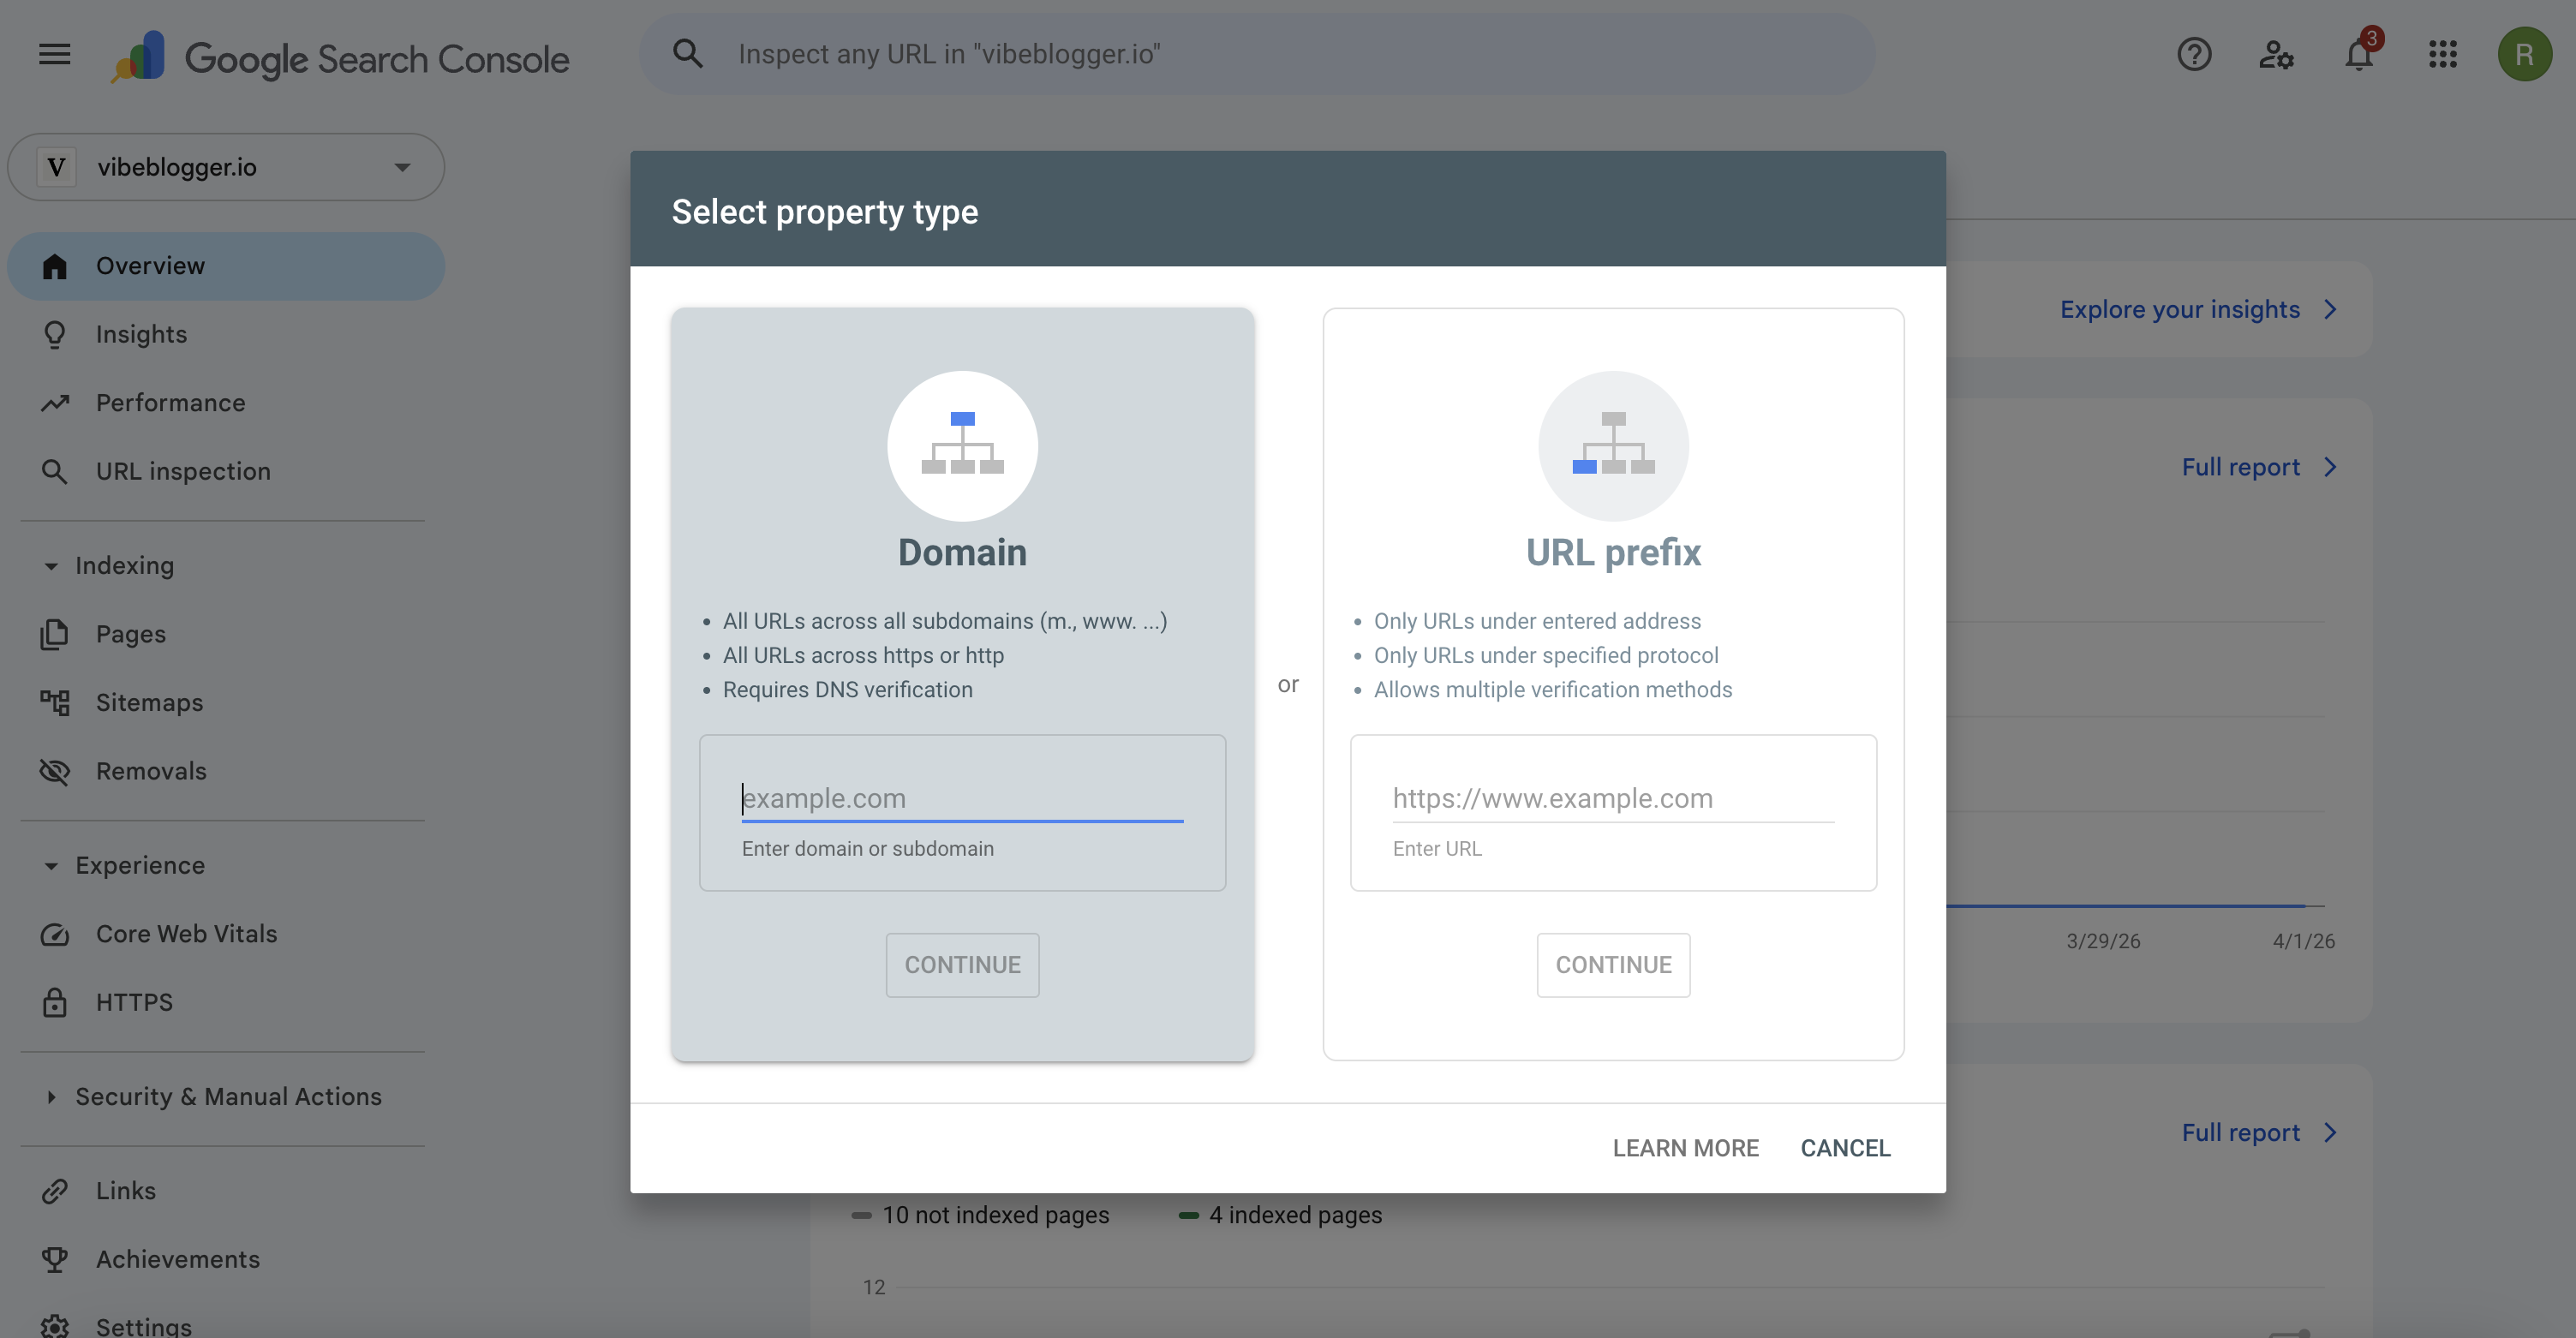
a. Add your site
- 1.
Go to search.google.com/search-console and sign in.
- 2.
Click "Add property" → "URL prefix" → enter your domain.
- 3.
Verify ownership — pick whichever is easiest for you:
HTML tag
Copy the meta tag into your root layout.tsx metadata.
DNS record
Add a TXT record to your domain's DNS settings.
HTML file
Download the file and put it in your /public folder.
b. Submit your sitemap
- 1.
In Search Console, go to Sitemaps in the left sidebar.
- 2.
Enter
blog/sitemap.xmland click Submit.
c. Request indexing for key pages
Paste your blog URL into the URL Inspection bar and click "Request Indexing". Do this for the blog listing page and your first few posts. Google typically indexes them within 2-7 days. The sitemap handles new posts automatically going forward.
What to expect: Indexing in 2-7 days. Rankings in 2-8 weeks. Meaningful organic traffic over 2-6 months. Consistent publishing accelerates this significantly.
Strategise & queue your content
5 minutes
Open the Chat panel on the right side of your dashboard. This is your AI blog strategist. Have a conversation about your SEO direction — it knows your niche, your competitors, and where the opportunities are.
Example prompts to get started:
"Research my niche and find the best keyword opportunities. What should we focus on first?"
"Analyze my top 3 competitors and find content gaps I should fill"
"Queue 40 blog posts targeting a mix of high-volume and long-tail keywords"
"Create a content calendar for the next 3 months"
The AI researches keywords, analyses search volume and difficulty, and adds topics directly to your queue. Posts start generating immediately.
Tip: Don't just queue topics — have a real conversation about your strategy. Ask it which keywords are realistic to rank for, what your competitors are missing, and what order to publish in. The better your strategy, the faster you'll see results.
Enable your agents
1 minute
Go to the Agents tab in your dashboard. Enable the agents that will keep your blog growing on autopilot:
Weekly Backlink Monitor
Finds backlink opportunities and tracks your domain authority growth
Weekly Topic Research
Finds trending topics in your niche and keeps your queue full
SEO Audit
Reviews your posts for SEO issues and suggests improvements
Click on a template, choose your schedule, and enable it. The agents run automatically — no input needed from you.
You're done.
Your site's SEO is cleaned up. Your blog is live. Google is indexing your content. Your agents are publishing new posts and monitoring your backlinks automatically.
Go to your dashboardWhat to do next
Review your first posts
Check the quality after a few posts generate. Tell the strategist to adjust tone or focus if needed.
Monitor Search Console
Check back in 1-2 weeks. You should see pages being indexed and impressions starting to appear.
Set up analytics
Add Google Analytics, Plausible, or PostHog to track your traffic growth. Search Console also shows organic performance.
Keep publishing
SEO rewards consistency. With your agents running, your blog grows automatically — just check in occasionally to review.
Need help?
Stuck on any step? Book a free setup call and we'll get you running. Or email support@vibeblogger.io.